
Names: Ryan Walsch | Photos: Jordan Riddle
There are many reasons why you may find yourself here reading this article, but a guess would be that you are hunting for the sound or vibration of your bike. It may be a screeching or cracking noise, or a constant noise after 23 minutes of riding at a certain temperature. But whatever it is, there's a good chance you're having an impact that's crying out for help and some anointing. In most cases I recommend that if you go to the trouble to remove it and it feels bad, put a new bearing in its place. This service procedure however is for those who cannot get a replacement in time or if the bearing feels fine and a little dry.
How to identify the problem involved
Most of the problems we see are caused by moisture and debris getting into or around the bearings in various places. The bottom bracket is often to blame but not always the source of the noise. Headset bearings, linking bearings and hub bearings can also be the cause.
Except for the hub and floor bearings, the link and headset bearings do not rotate fully, usually rotating only a few degrees and under heavy load. These bearings always seem to be full of crud and can squeak and groan if not cleaned and lubricated. Usually loosening them and getting them moving again will solve the problem, or at least ease it until a new bearing is installed.
Tools needed
A grease gun, a Stanley knife with a new blade, kerosene, clean rags.
The process
- Remove and clean the bearing
There are many ways to remove a bearing, very special tools, bearing pullers, blind bearing pullers, punches, compression, you name it. Each type likes to use its own method but the concept remains the same. Getting the bearing out straight is the goal of the game and punching its side, while it may work and sometimes the only option, can damage the bearing seat, causing it to tilt to the side and bind making it more difficult. remove or worse, destroy the bearing and leave behind only the outer race. Pull it or push it straight and it will save a lot of time.
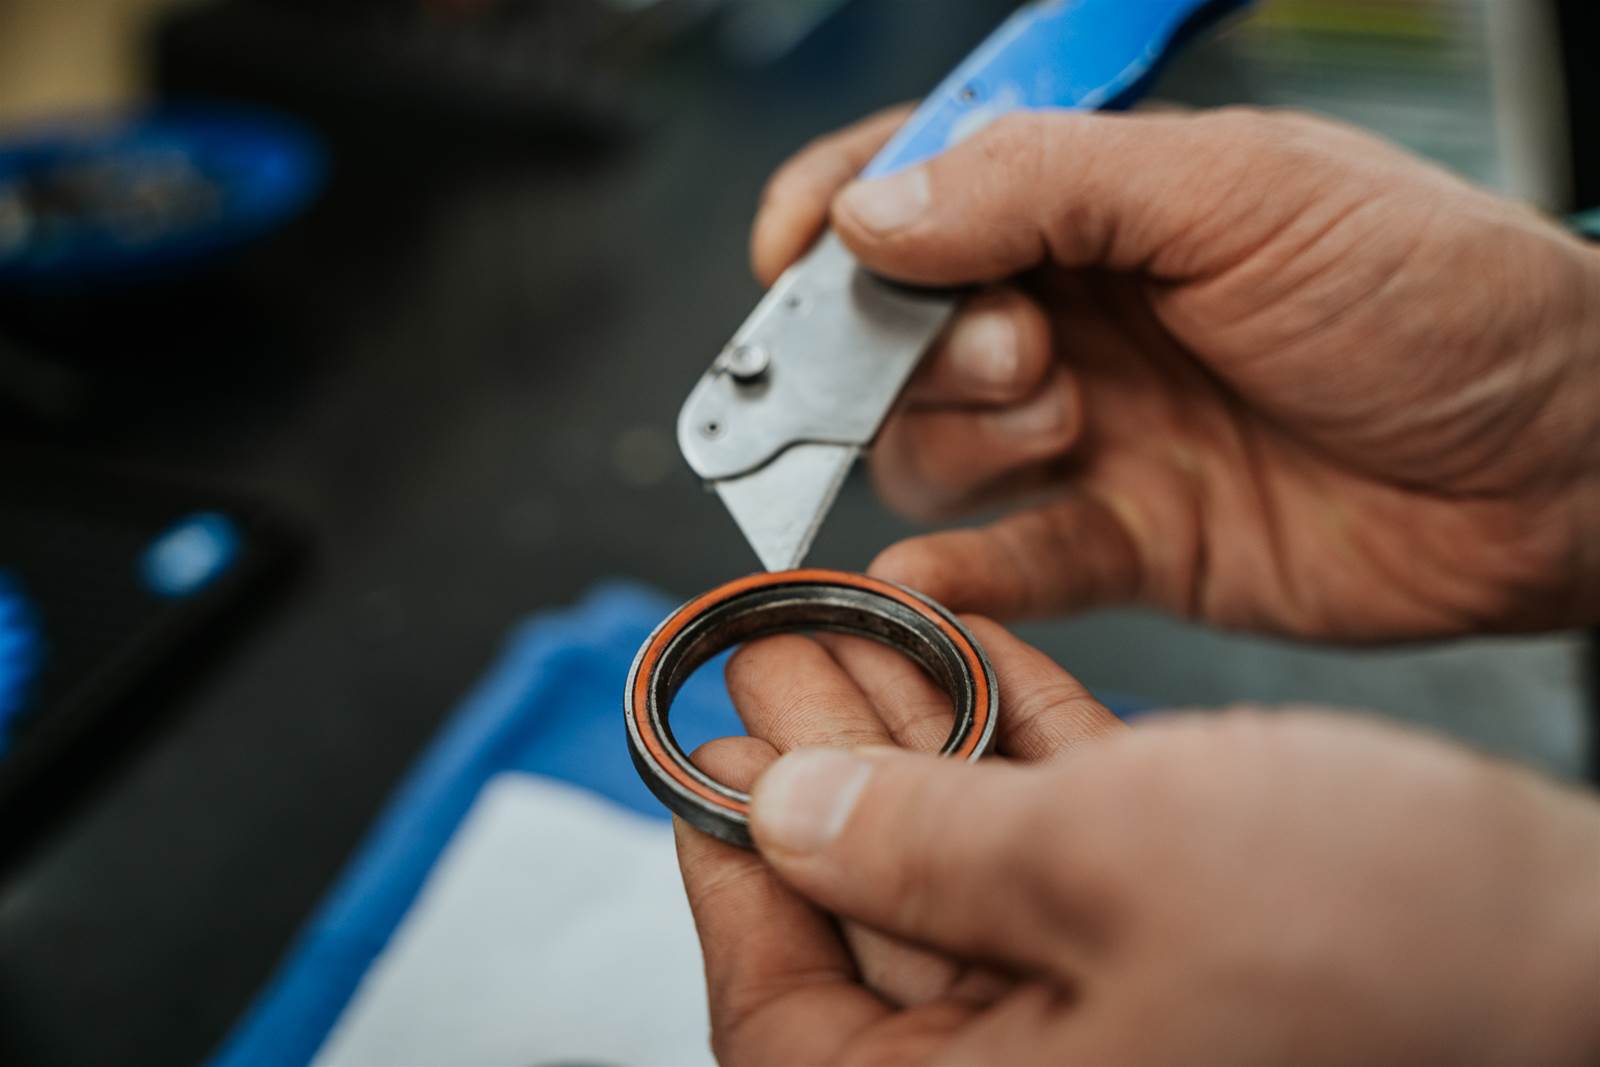
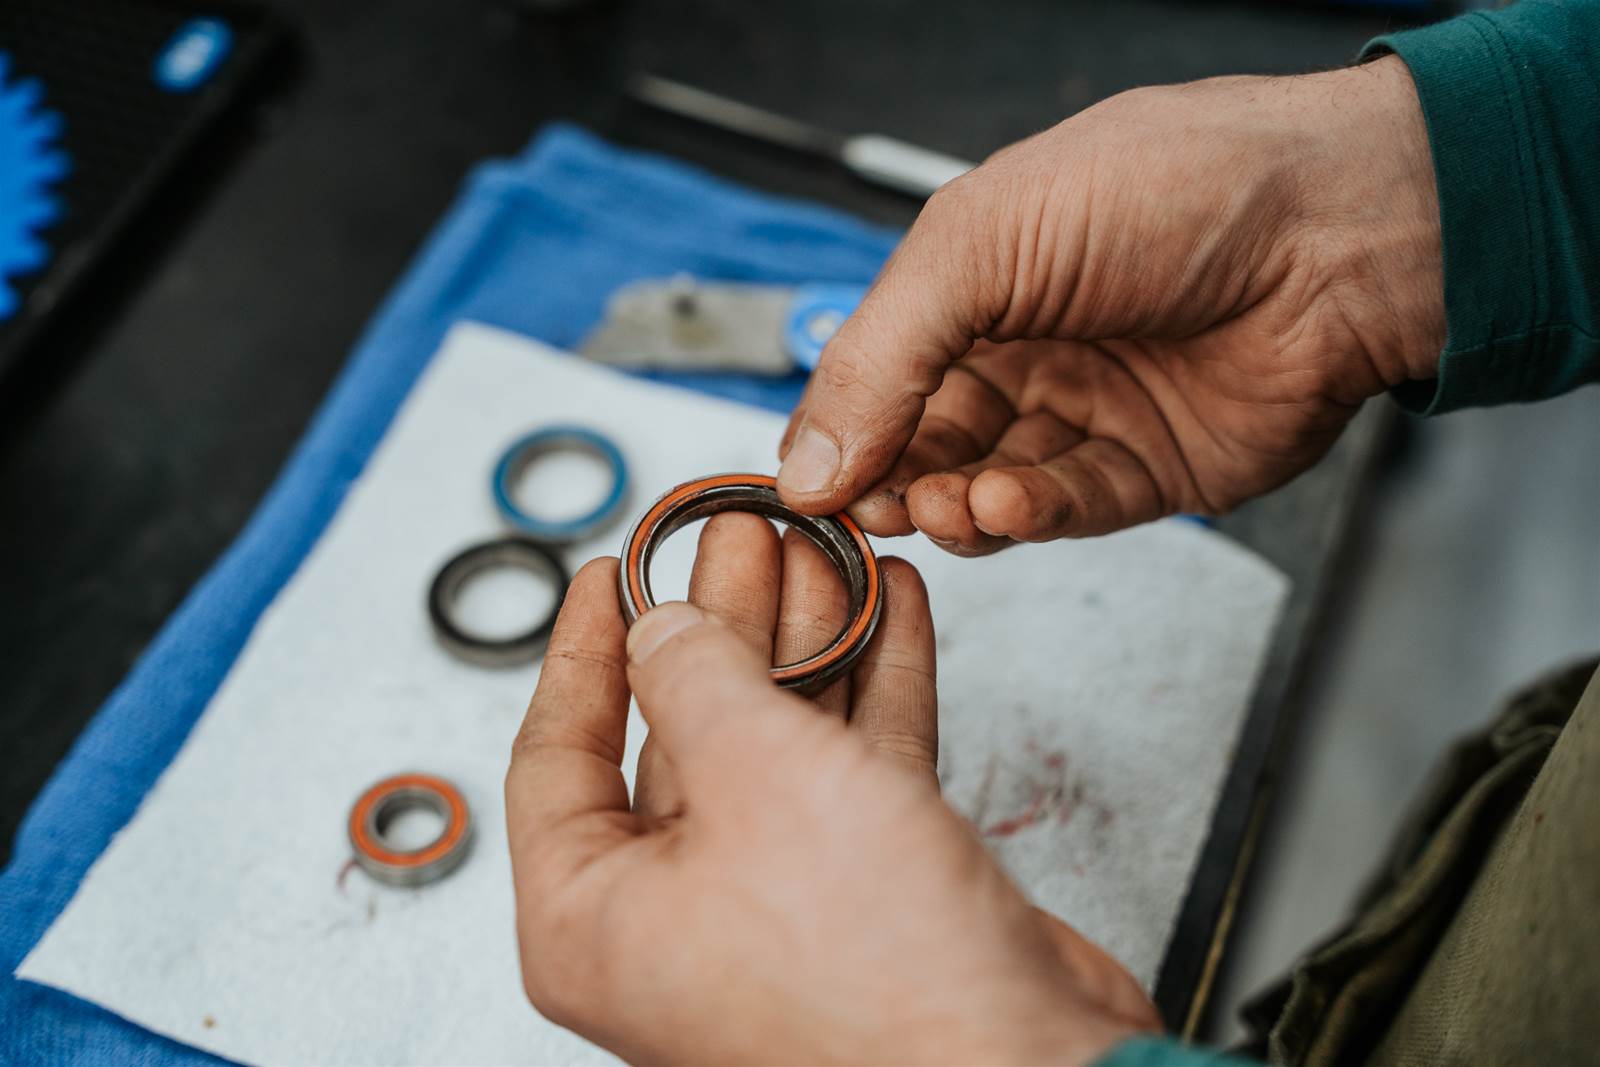
2. Remove the seals
To remove the seals, we like to use the sharp point of a Stanley knife, carefully insert the point of the blade under the cap and lift out, being careful not to bend the lock washer inside the cap as this will make it difficult to reinstall. , damage the seal and make it easy for water and debris to get into the bearing after reinstallation.
Do you need to remove the bearing to check if it is dry and needs oil? Sometimes no, the sign can be seen when the pivot bolt is removed and a simple check under the sign will tell you how the bearing moves, even better if in the case of a hub or linkage remove the shock or wheel from the bike and move the bearing, if it spins freely and is not a chance it needs new grease.
3. To clean the bearing
We have shown how to clean sealed bearings in a jar of Kerosene or distillate, using an ultrasonic hot cleaner in our workshop in general but not everyone has access to this wonderful bit of wizardry, a jar and a degreaser can still be very effective. We got a little more. Ultrasonic cleaners under $50 that can be used with hot water/degreasing solution.
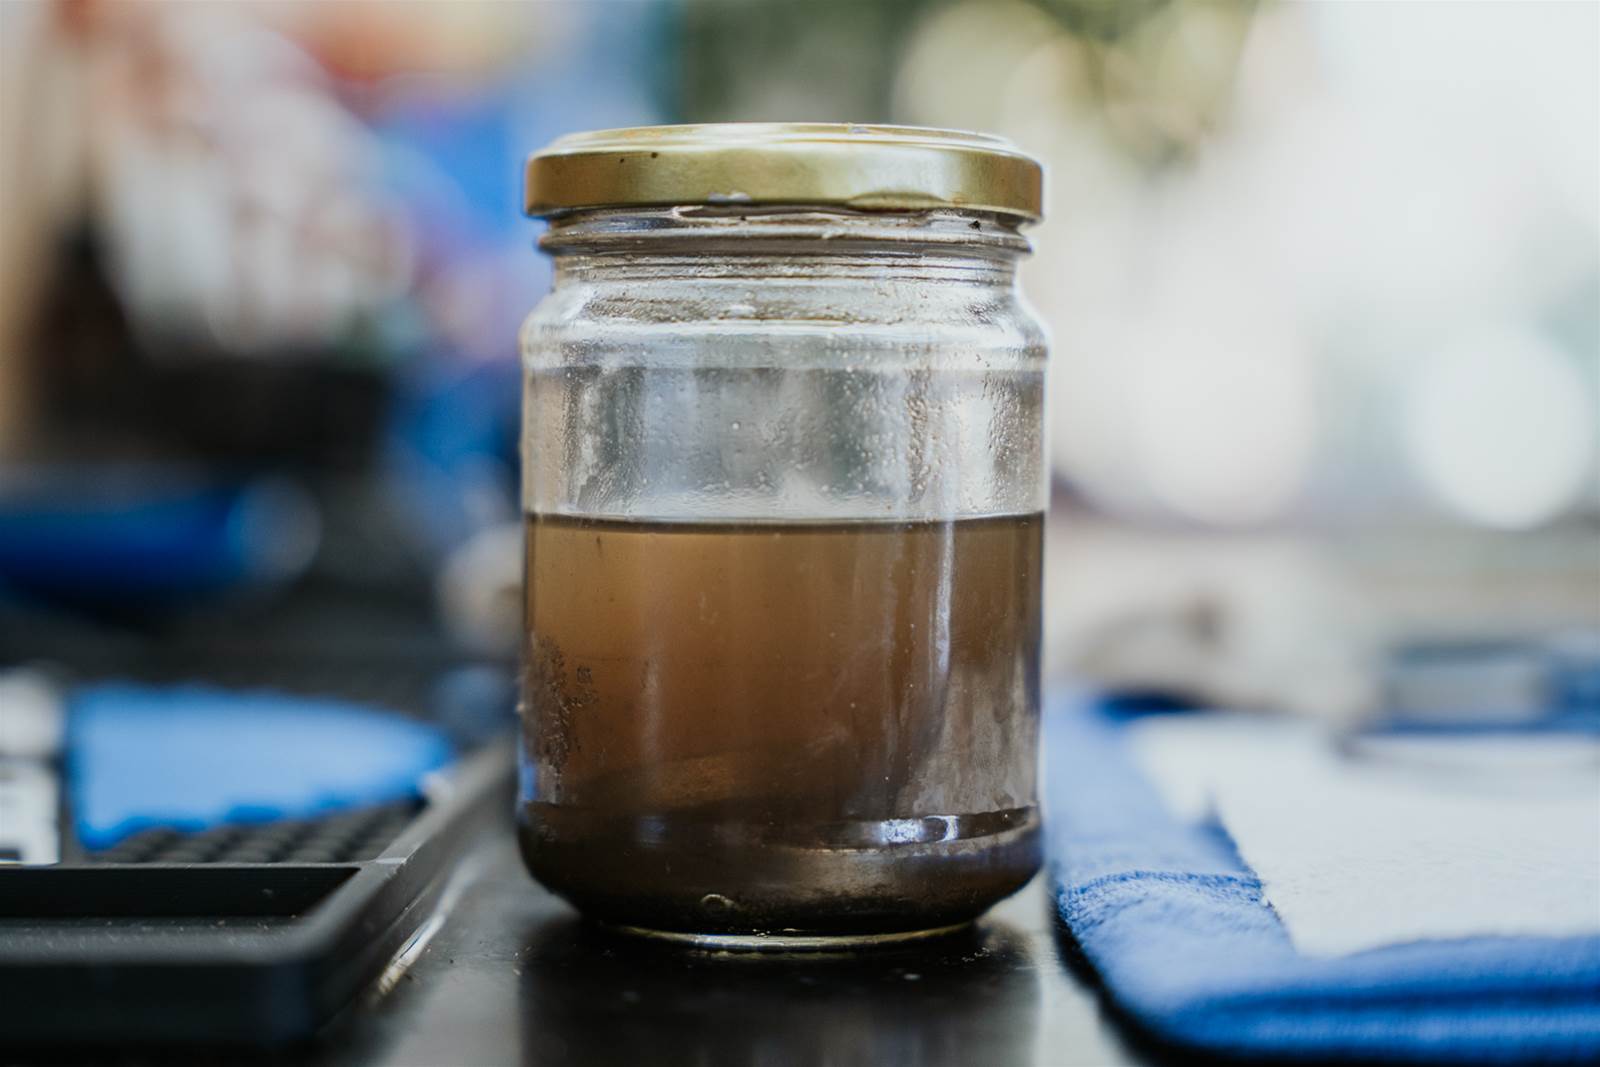
Soaking the bearing in any of the above cleaners or shaking and stirring the solution to dissolve the old oil and debris from the inside of the bearing, if the bearing is really bad or seized, sometimes we will remove the bearing and give it to you. a spin that will also free the internal bearings to work.
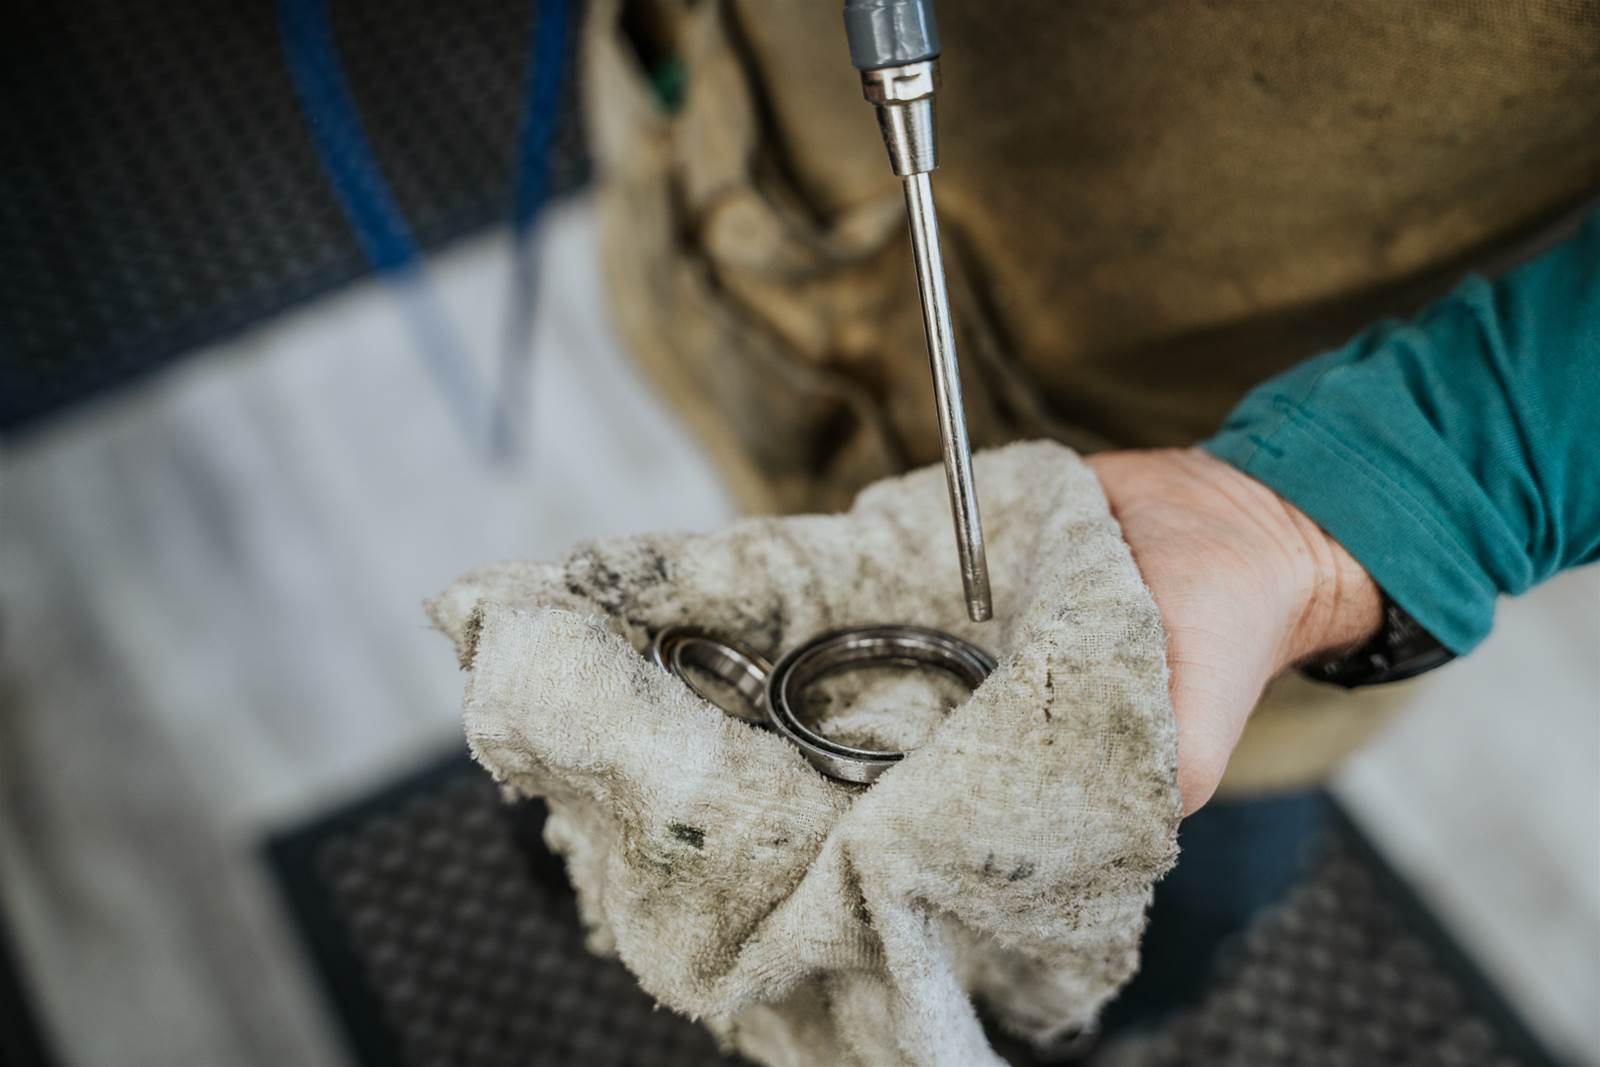
4. Dry the bearing
Wearing ear and eye protection, we use a small amount of compressed air to blow moisture and debris from the wear, drying the wear in the sun or with a dry cloth will also work.
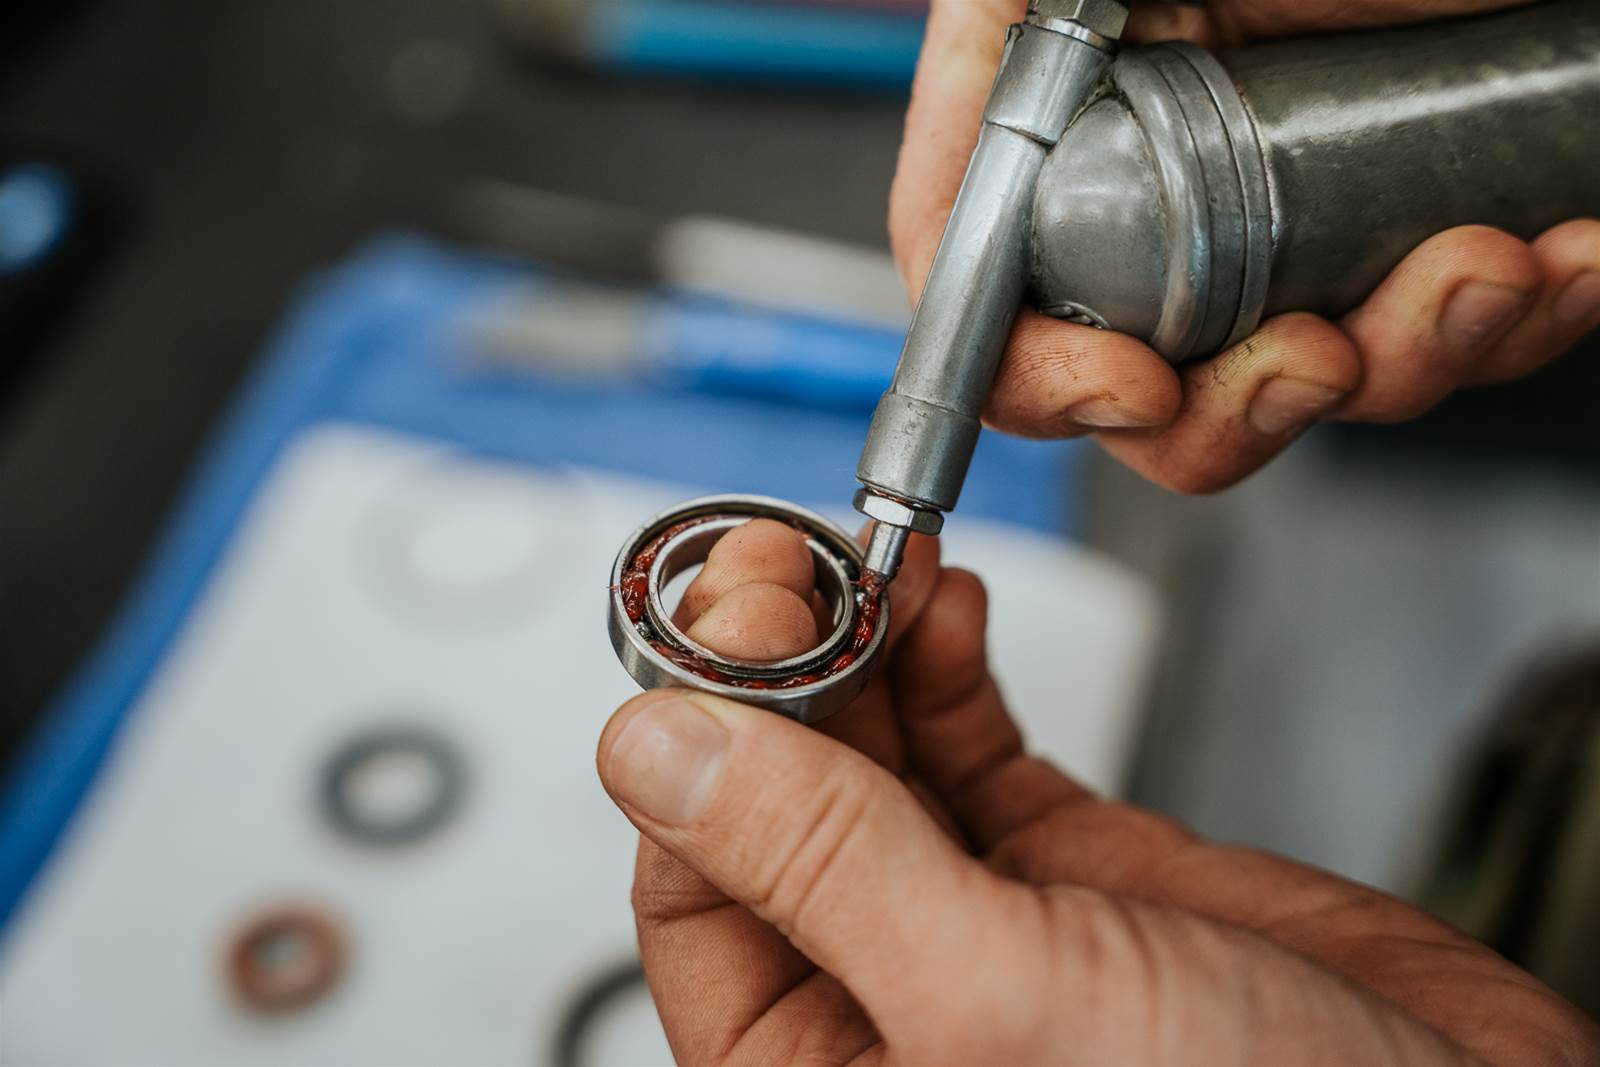
5. Repacking the bearing
There are many different types of oils, but there are usually two main types of grease that we use and recommend for the bike. Is the bearing in question load bearing (ie linking bearing) or rotating (hub or bottom bracket). For load-carrying bearings, a full complement is usually used (no inner cage to hold the bearing) which allows more bearings to be installed and carry the load and we can repack them with a thick, high temperature waterproof. The great consistency doesn't lather and yet repels moisture and debris very well.
The second grease we can use is a fine synthetic grease like Slickoleum, we use it in suspension systems and rotating bearings like hubs, its light and smooth consistency causes less drag and will turn quickly, it is more resistant to moisture but not good. high.
Inject grease with a grease gun, or push/apply grease with an applicator or finger, loosen, it will press on when the seals are reinstalled.
6. Reinstall the seals
Press the seals well with your fingers so as not to damage them, wipe off excess oil.
7. Reinstall the bearings
Your bearings are ready to go! Depending on the application and bearing area, reinstall the bearing following the manufacturers recommendation, usually with a small smear of oil to prevent moisture ingress and noise!
Source link


